
Harley Davidson system relay problems often stem from faulty relays or poor electrical connections. These issues can cause starting failures or intermittent electrical malfunctions.
Harley Davidson motorcycles are renowned for their robust design and powerful performance. Yet, like any complex machine, they can encounter issues, particularly with their electrical system. System relay problems are a common concern among Harley Davidson owners. Faulty relays or poor electrical connections can lead to starting failures, erratic behavior, and other electrical issues.
Identifying and addressing these problems promptly is crucial for maintaining your motorcycle’s reliability. Regular maintenance and timely replacement of faulty components can help prevent these issues and ensure a smooth riding experience. Understanding the symptoms and solutions can help keep your Harley running at its best.
Credit: www.hdforums.com
Table of Contents
Introduction To Harley Davidson Relay Issues
Harley Davidson bikes are iconic and beloved. But, they can have relay issues. Relays are small but crucial components. They control electrical circuits in your bike. Problems with relays can cause major headaches. Let’s explore common symptoms and why relays fail.
Common Symptoms
When a relay fails, you might notice several symptoms. Here are the most common ones:
- Bike won’t start: The engine doesn’t turn over.
- Flickering lights: Headlights or indicators flicker.
- Unresponsive horn: The horn doesn’t work at times.
- Electrical issues: Other electrical components may act up.
Why Relays Fail
Relays can fail for various reasons. Here are the most frequent causes:
| Cause | Description |
|---|---|
| Wear and Tear | Over time, relays wear out and stop working. |
| Heat | Excessive heat can damage the relay’s internal parts. |
| Moisture | Water ingress can lead to relay corrosion. |
| Electrical Surges | Sudden spikes in power can burn out the relay. |
Credit: www.hdforums.com
Diagnosing Relay Problems
Harley Davidson motorcycles are known for their durability and performance. Yet, relay problems can cause unexpected issues. Diagnosing these relay problems is essential for smooth rides. This guide helps you understand how to diagnose relay problems easily.
Tools Needed
Before you start, gather the necessary tools. This ensures a smooth diagnostic process.
- Multimeter
- Wire strippers
- Relay testing tool
- Screwdrivers
- Protective gloves
Step-by-step Guide
Follow these steps to diagnose relay problems on your Harley Davidson:
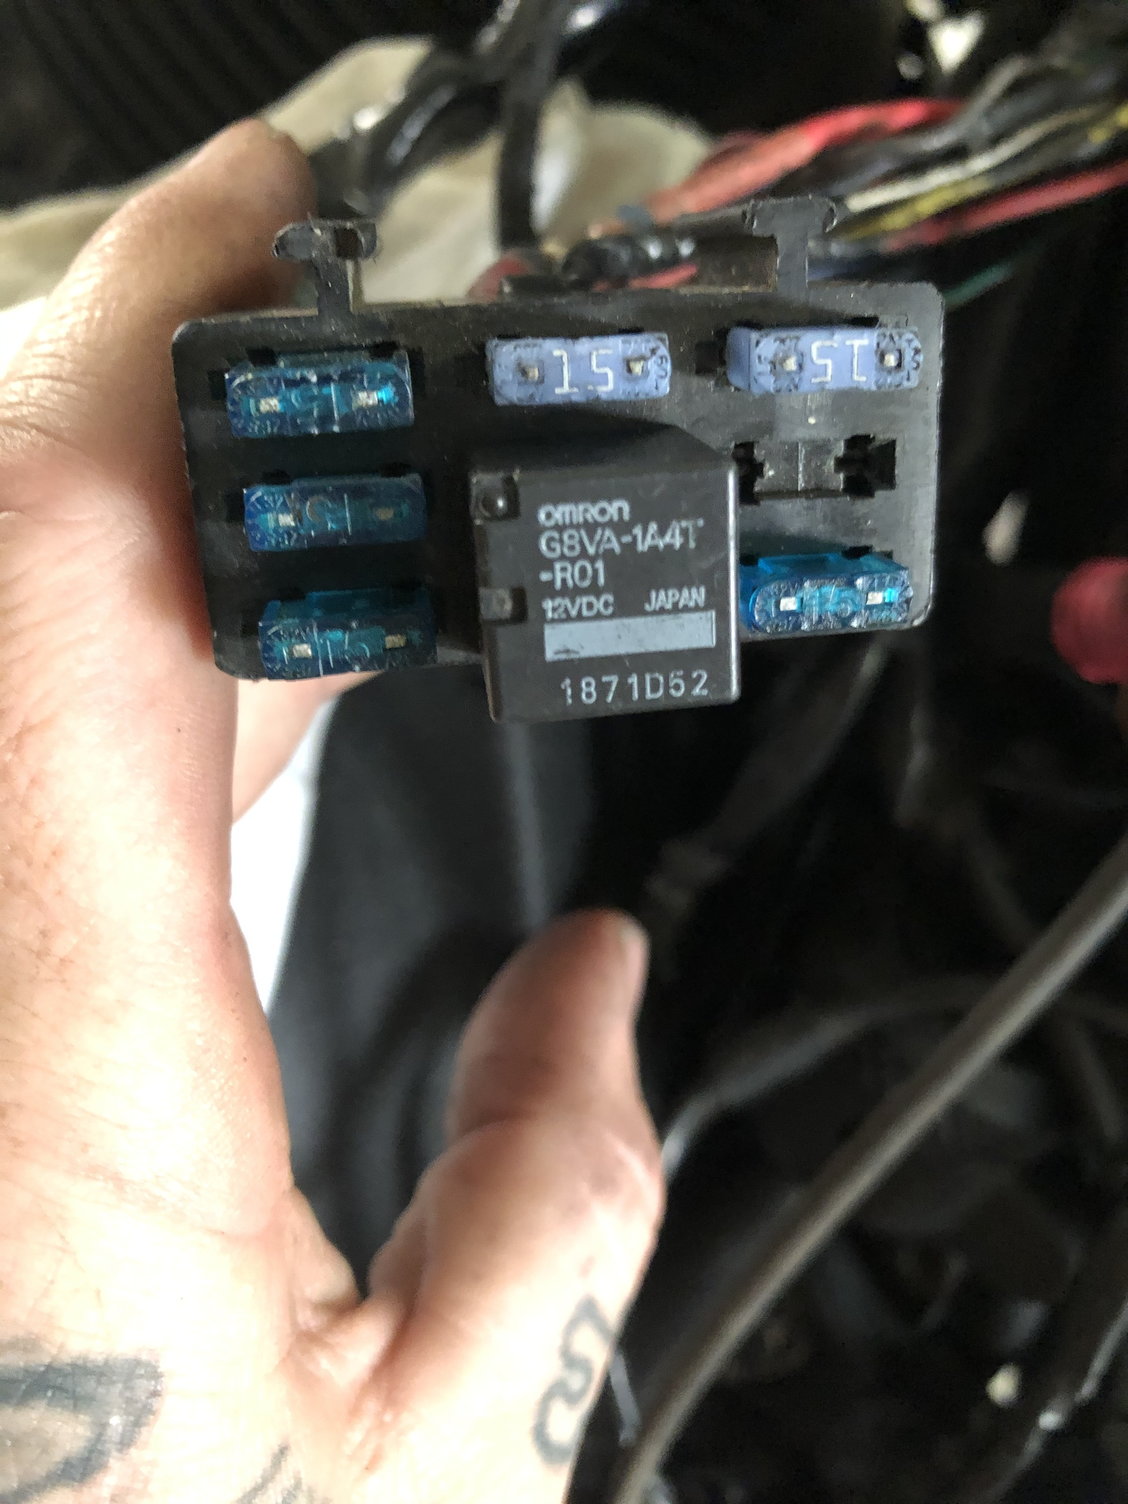
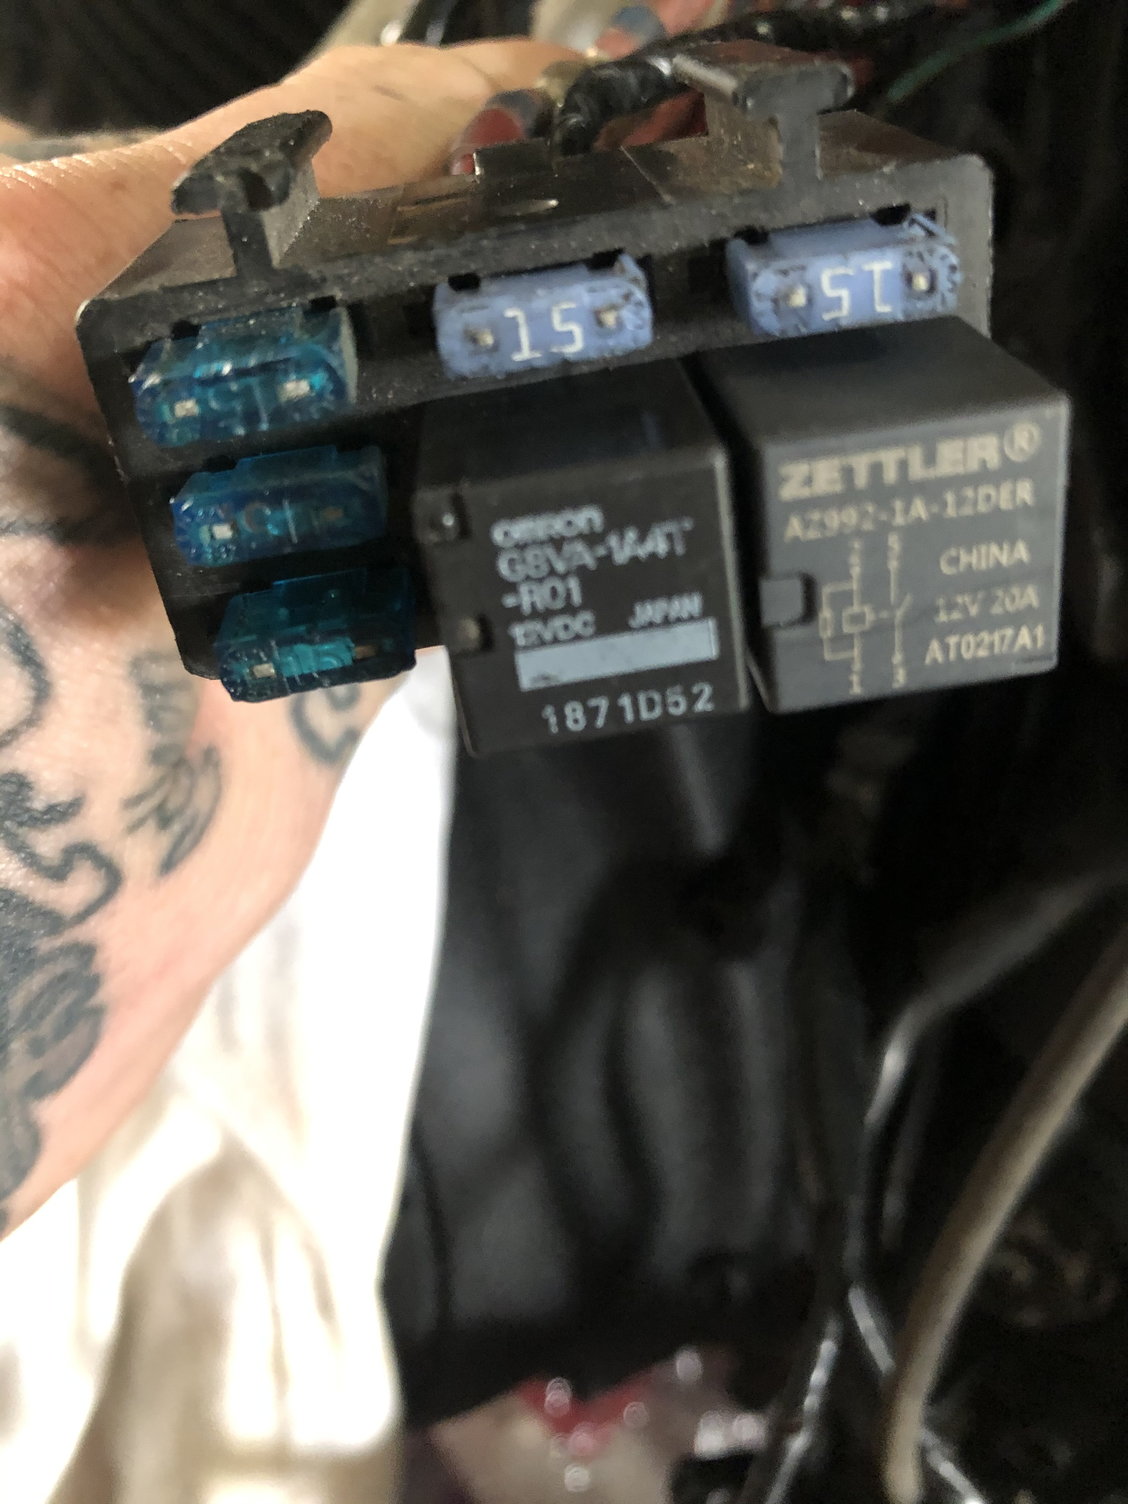
- Locate the relay: Find the relay in your motorcycle’s fuse box.
- Remove the relay: Gently pull out the relay from its socket.
- Inspect the relay: Check for any visible signs of damage.
- Test continuity: Use a multimeter to test the relay’s continuity.
- Check voltage: Ensure the relay is getting the correct voltage.
- Test with a relay tool: Use a relay testing tool for a thorough check.
- Replace if needed: If the relay is faulty, replace it with a new one.
Use this table to understand the voltage readings:
| Voltage Reading | Status |
|---|---|
| 12V | Normal |
| 0V | Faulty |
| Fluctuating | Intermittent issue |
Diagnosing relay problems is crucial for a trouble-free ride. Follow these steps to ensure your Harley Davidson runs smoothly.
Quick Fixes At Home
Facing issues with your Harley Davidson’s system relay? Sometimes, you can fix them at home. Let’s explore some quick fixes.
Temporary Solutions
Temporary solutions can get you back on the road quickly. Here are a few easy methods:
- Check the Battery: Ensure the battery is fully charged.
- Inspect Connections: Look for loose or corroded wires.
- Reset the Relay: Disconnect and reconnect the relay.
Safety Precautions
While fixing relay problems, safety is crucial. Follow these steps:
- Turn Off the Engine: Always turn off the bike before starting.
- Wear Safety Gear: Use gloves and safety glasses.
- Work in a Ventilated Area: Ensure good airflow around you.
Keep these tips in mind for a safe and effective repair.
Replacing The Relay
Replacing the relay in your Harley Davidson can solve many electrical issues. A faulty relay can cause starting problems, lights not working, and other electrical failures. Knowing how to replace the relay is crucial for any Harley owner.
Choosing The Right Relay
Choosing the right relay for your Harley is essential. Not all relays are the same. Check your bike’s manual for the correct part number.
- Make sure the relay matches the voltage.
- Verify the relay’s amperage rating.
- Ensure the relay fits into the socket.
Installation Process
Follow these steps to replace the relay:
- Turn off the engine and remove the key.
- Disconnect the battery to avoid shocks.
- Locate the faulty relay. It’s usually in the fuse box.
- Remove the old relay by pulling it out gently.
- Insert the new relay into the same socket.
- Reconnect the battery and start the engine.
Testing is the final step. Check if the problem is resolved. If not, there may be other issues.
Troubleshooting Electrical Connections
Experiencing electrical issues with your Harley Davidson can be frustrating. System relay problems often cause these issues. This guide helps you fix these problems. We will cover two main areas: Inspecting Wiring and Ensuring Proper Connection.
Inspecting Wiring
Start by checking the wiring of your Harley Davidson. Look for damaged wires. Damaged wires can cause electrical problems. Use a flashlight to see better. Also, check for any signs of wear and tear.
Follow these steps to inspect wiring:
- Turn off the motorcycle.
- Remove the seat to access the wiring.
- Check for loose or frayed wires.
- Use a multimeter to test continuity.
If you find any damaged wires, replace them immediately. This ensures the electrical system works correctly. Always use high-quality replacement wires.
Ensuring Proper Connection
Next, ensure all connections are tight and secure. Loose connections can lead to relay problems. Follow these steps:
- Check the battery terminals. Ensure they are clean and tight.
- Inspect the relay connections. Make sure they are secure.
- Look at the ground wires. Ensure they are properly connected.
Use the right tools to tighten connections. This includes wrenches and screwdrivers. Make sure you do not over-tighten, as this can cause damage.
Regular maintenance helps prevent these issues. Always keep an eye on your bike’s electrical system. This ensures smooth and enjoyable rides.

Credit: www.hdforums.com
Professional Help Vs. Diy
Harley Davidson riders love the thrill of the open road. But sometimes, system relay problems can arise. This issue can be tricky. The big question is: should you seek professional help or try a DIY fix?
When To Seek Professional Help
Some problems need expert hands. Seek professional help if:
- The bike won’t start after checking the relay.
- The relay seems burnt or damaged.
- Electrical issues persist even after replacing the relay.
- You are not confident in your repair skills.
Professionals have the right tools and experience. They can diagnose and fix issues quickly. This saves time and ensures safety. Plus, they can spot other potential problems. This prevents future breakdowns.
Benefits Of Diy
DIY repairs can be rewarding. Consider a DIY fix if:
- You have basic mechanical skills.
- You’re familiar with the bike’s electrical system.
- You enjoy hands-on projects.
- You want to save money on repairs.
Doing it yourself can save money. It also helps you learn more about your bike. This makes you more self-reliant on the road. Plus, you get the satisfaction of fixing your bike.
Here’s a simple table to compare:
| Professional Help | DIY |
|---|---|
| Expert diagnosis | Learn new skills |
| Quick and efficient | Save money |
| Ensures safety | Hands-on experience |
| Comprehensive check-up | Self-reliance |
Decide based on your skills and confidence. Both options have their benefits.
Maintaining Your Harley’s Electrical System
Maintaining the electrical system of your Harley Davidson is crucial. A well-maintained system ensures your bike runs smoothly. Ignoring this aspect can lead to system relay problems. This guide will help you keep your Harley’s electrical system in top shape.
Regular Checks
Regular checks are vital for your Harley’s health. Start by inspecting the battery connections. Ensure they are tight and free from corrosion. Check the fuses and replace any blown ones. Look at the wiring for any signs of wear or damage. This helps prevent electrical issues.
| Component | Action |
|---|---|
| Battery | Inspect connections and clean terminals |
| Fuses | Check and replace if blown |
| Wiring | Look for wear or damage |
Preventive Measures
Preventive measures can save you from future headaches. Use a multimeter to test the voltage regularly. Ensure it’s within the recommended range. Install a relay switch protector to safeguard against electrical surges. Apply dielectric grease on connectors. This helps prevent moisture and corrosion.
- Test voltage with a multimeter
- Install a relay switch protector
- Apply dielectric grease on connectors
Following these steps will keep your Harley’s electrical system in excellent condition. Regular maintenance can prevent system relay problems and ensure a smooth ride.
Frequently Asked Questions
What Causes Harley Davidson Relay Issues?
Harley Davidson relay issues often stem from faulty wiring, corroded connections, or a failing relay itself.
How To Identify A Bad System Relay?
Common signs include intermittent starting issues, electrical malfunctions, and unusual clicking sounds from the relay.
Can A Bad Relay Drain The Battery?
Yes, a faulty relay can cause a continuous power draw, leading to a drained battery over time.
How To Fix Harley Davidson Relay Problems?
Fix issues by inspecting wiring, cleaning connections, and replacing the faulty relay if necessary.
Conclusion
Resolving Harley Davidson system relay problems ensures a smoother ride. Regular maintenance can prevent many issues. Always use genuine parts for repairs. Consult a professional if problems persist. Stay proactive to keep your Harley in top condition. Enjoy the freedom of the open road with confidence.


